A gallery wall can make a room feel considered and personal. Planning one can also bring a familiar worry: if you guess where each frame goes, will you end up with a crooked arrangement, or extra holes to patch?
The answer is to plan the whole display before you drill. A tape measure, a little floor space and paper templates can help you check the composition, spacing and hanging points first.
1. Measure the usable wall, not just the wall
Measure the height and width of the area where you want the gallery to sit. The usable area may be smaller than the wall itself once you account for door and window trim, a mantel, a ceiling slope or nearby furniture.
Note anything that could affect a frame’s position or how you use the room:
- Light switches, outlets, thermostats and vents
- Door swings, handles and nearby shelving
- Furniture edges and the space needed to move around
- Wall trim, picture rails or other architectural details
Make a quick sketch and mark those features with their measurements. This gives you a clear boundary for the layout and helps prevent a frame from landing awkwardly over an outlet or too close to a door.
If the gallery will hang above a sofa, console or bed, use the furniture as a reference point. As a starting point, the complete arrangement can be around two-thirds to three-quarters of the furniture’s width. Adjust for the room and the artwork rather than treating that ratio as a rule.
2. Choose a layout style
Before arranging frames, decide what kind of visual rhythm you want. A few common approaches:
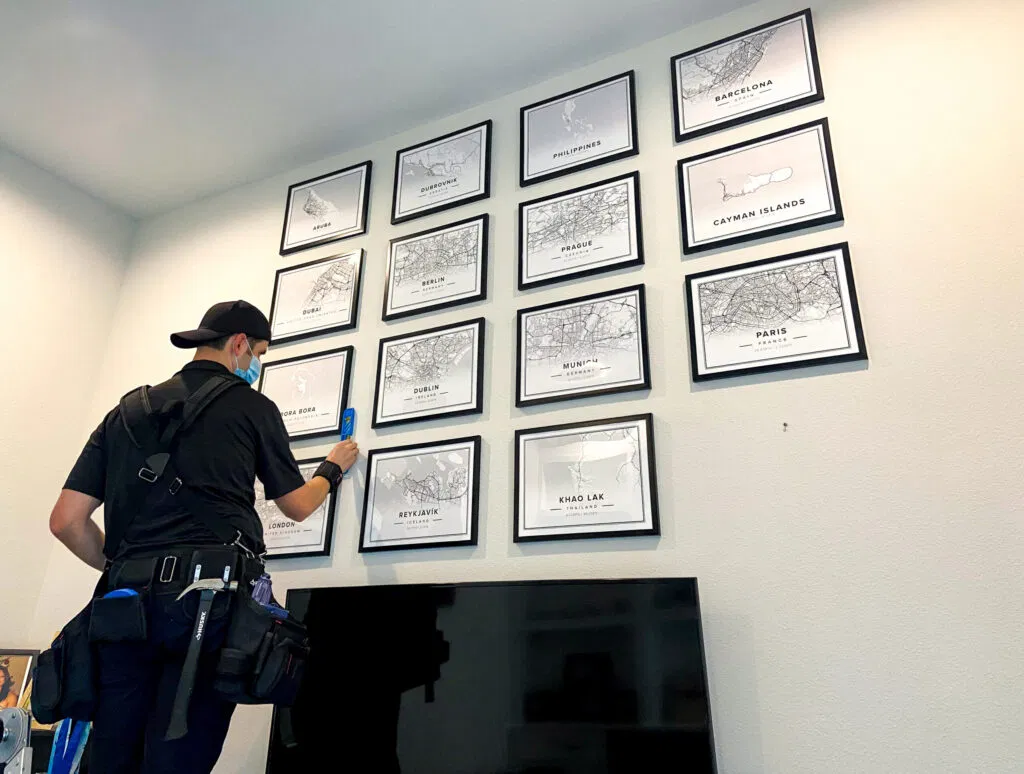
- Grid: Similar frame sizes in orderly rows and columns. This creates a clean, structured look, especially when you keep the gaps consistent.
- Salon-style grouping: Different sizes and orientations arranged as one composition. It feels more collected, but benefits from a clear overall shape.
- Linear arrangement: Frames follow a horizontal or vertical line, which can work well in a hallway or above a long piece of furniture.
Then decide what will anchor the group. You might place the largest piece near the center, or let a favorite image draw the eye slightly off-center. Spread dark or visually heavy frames across the composition so one side doesn’t feel much denser than the other.

3. Arrange the real frames on the floor
Lay the frames out on the floor in front of the wall, or use painter’s tape on the floor to mark the wall’s usable width. Start with the largest pieces, then fit the smaller ones around them.
Measure the gaps between frames as you go. For many gallery walls, 2–3 inches between frames is a useful starting point. Consistent spacing helps a mixed collection feel connected; tighter gaps can make the group read as one unified block. Use a ruler or cut a spacer from cardboard so you don’t have to estimate each gap by eye.
Step back and look at the arrangement from the place you’ll usually see it: from the sofa, doorway or end of the hall. Check its shape and visual balance, not just whether each frame fits. You can take a photo of the floor layout to help remember it.
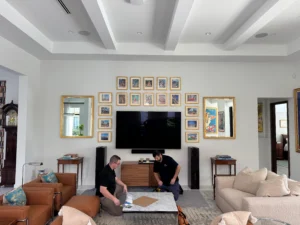
A finished gallery wall can also offer useful reference for proportion and rhythm. For example, this framed automotive gallery wall shows a coordinated display arranged on a dark accent wall.
4. Set the group’s height
Think of the gallery as one large shape. For a typical room, aim to place the center of the whole arrangement around 58–62 inches from the floor. That’s different from placing the center of every individual frame at eye level.
To work out the top and bottom:
- Measure the planned height of the full arrangement, including the frames and gaps.
- Divide that height by two.
- Place the midpoint around 58–62 inches above the floor.
- Check how the top and bottom relate to the furniture and surrounding features.
For example, if your arrangement is 42 inches tall, its midpoint is 21 inches from either edge. With a 60-inch target center, the top would sit about 81 inches from the floor and the bottom about 39 inches from the floor.
Above furniture, the gap between the furniture and the lowest frame matters too. If your calculation leaves very little breathing room, adjust the arrangement to suit the room. Eye level is a helpful starting point, not a reason to crowd the artwork against a sofa or mantel.
5. Make full-size paper templates
This is the most useful step for checking a gallery wall layout before any holes are made.
Trace each frame’s outside dimensions onto kraft paper, newspaper or wrapping paper. Cut out the shapes and label each one so you know which frame it represents. Mark the top edge, too, especially if the frame has a wire on the back.
Next, find the exact hanging point for each frame. Measure from the top of the frame to where its hanger will meet the nail or hook. For a wire-backed frame, pull the wire taut before measuring. Transfer that measurement to the matching paper template.
Tape the templates to the wall with painter’s tape. Arrange and adjust them until the spacing and overall height look right. Check the composition from across the room, and use a level to confirm the lines you intend to align. If you’re unsure, live with the paper arrangement for a few hours, or a day, before drilling.
The template tells you where the frame belongs and where its fastener needs to go. That’s more reliable than measuring frame edges on the wall and trying to estimate the hanger position afterward.

6. Match the hardware to the frame and wall
Before making any holes, check the weight of each frame and how it is designed to hang. A frame with two D-rings, for example, needs two correctly positioned attachment points; a wire-backed frame has a different hanging point. Follow the frame and hardware manufacturers’ instructions.
Then consider the wall:
- Drywall: Use hardware rated for the load and suitable for drywall. For heavy pieces, locate a stud or other structural support rather than relying on a basic drywall fixing.
- Stud: A suitable fastener secured into a stud can provide structural support. Confirm the frame’s hanging hardware lines up with the stud or plan for an appropriate mounting solution.
- Masonry: Use fasteners designed for the specific masonry surface and installation. Brick, concrete and other masonry materials may require different hardware.
For heavier artwork, mirrors or a group of substantial frames, make sure the load is supported structurally. Don’t assume that a fastener suitable for a light picture will be appropriate for a heavier piece. If you’re unsure about the wall type, the frame weight or the right fixing, get advice before drilling.


7. Do a final check before drilling
With the templates in place, take a last look at the arrangement from the usual viewing position. Confirm that:
- The full group fits within the usable wall area.
- Gaps are consistent and the layout feels balanced.
- The center height and furniture clearance suit the room.
- Every template is level where intended and labeled correctly.
- Each hanger point matches the frame’s actual hardware.
- You’ve considered wall type, frame weight and hidden utilities before choosing where to drill.
Once you’re satisfied, make the holes at the marked points, remove the paper and hang the frames. Work carefully, and check the level and spacing as you go.
For more ideas, explore Firehawk’s gallery wall design guide. If you’ve planned the arrangement but would rather have a specialist handle the measurements, wall checks and hanging, Firehawk provides a professional art hanging service for homes and commercial spaces.